


Hey there, friends! Arpan here, and boy, do I have a story to tell you! Recently, I was working on a hardware project for the Hack Club Winter Wonderland, and let me tell you, it was quite an adventure.
Now, I'm no stranger to working with hardware, but it had been a while since I'd dabbled in it. As I started working on my project, a Kindle-like eReader with an awesome ePaper display, I remembered just how quirky electronic components can be. I knew I was in for a wild ride, and boy was I right.
Banking Issues
But before starting the project, there was one issue I had to deal with. Hack Club very generously gave me and my teammates a grant of $250 each to buy the necessary components, but the issue was that the wonderful Hack Club Bank doesn’t work in India. However, I managed to figure out a way to get the funds into India. Finally, I was able to buy the components, but Amazon gave me a whole host of other issues to deal with. They sent me the wrong model of the ePaper display and then refused to return it. Thankfully, Amazon customer support was good, so I got my full refund and the project went on.

Once I received the correct display, the adapter of the display refused to let me display anything. Not wanting to return and reorder for the fifth time, I got the adapter from an external source, and it worked like a charm.
The 3D Printing Adventure
Now, it was time to deal with the 3D printer. Although this wasn’t my first time working with a 3D printer, I was by no means an expert. My 3D Printer gave me another set of issues to deal with, starting from the incompatible spool size of the 3D printer, which I solved by making a spool holder for the 3D printer using the 3D Printer. Thanks to a file from “irishforg,” I managed to solve the issue.
But then, I tried making a design for the case of my project, and here’s how that went:
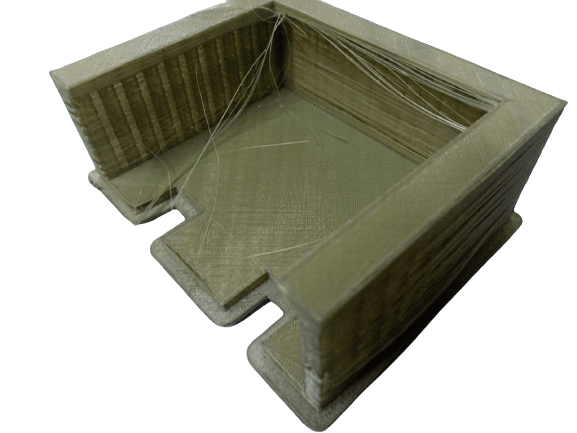
My first design was a basic box that was supposed to be made in two parts, and that star you see in the picture was supposed to interlink. And what did I miss? Yes, measurements! The pieces didn’t join up to form a case big enough for the display. For my second design, I redesigned the case with bigger dimensions. It did start to fit, but how can it ever be so easy? So, my 3D printer decided it will not print the walls of the container correctly, and it came out as a messy, unstable layer of strings all coming apart.
For my third design, I did something that programmers are known for - I googled it. I found a wonderful design for the case on Thingiverse and, after promptly splitting it into two attachable pieces, printed it. Did it work? Sorta. It was a wonderful design, but not such a great print and the maker didn’t use correct measurements I suppose because this didn’t fit either.
For my fourth design, I decided to make another design on my own on good old Tinkercad, and let’s just say it was a crappy attempt. At this point, I was literally about to start a series on Arpan vs. 3D Printer, and to say I was a bit frustrated and disappointed would be an understatement.
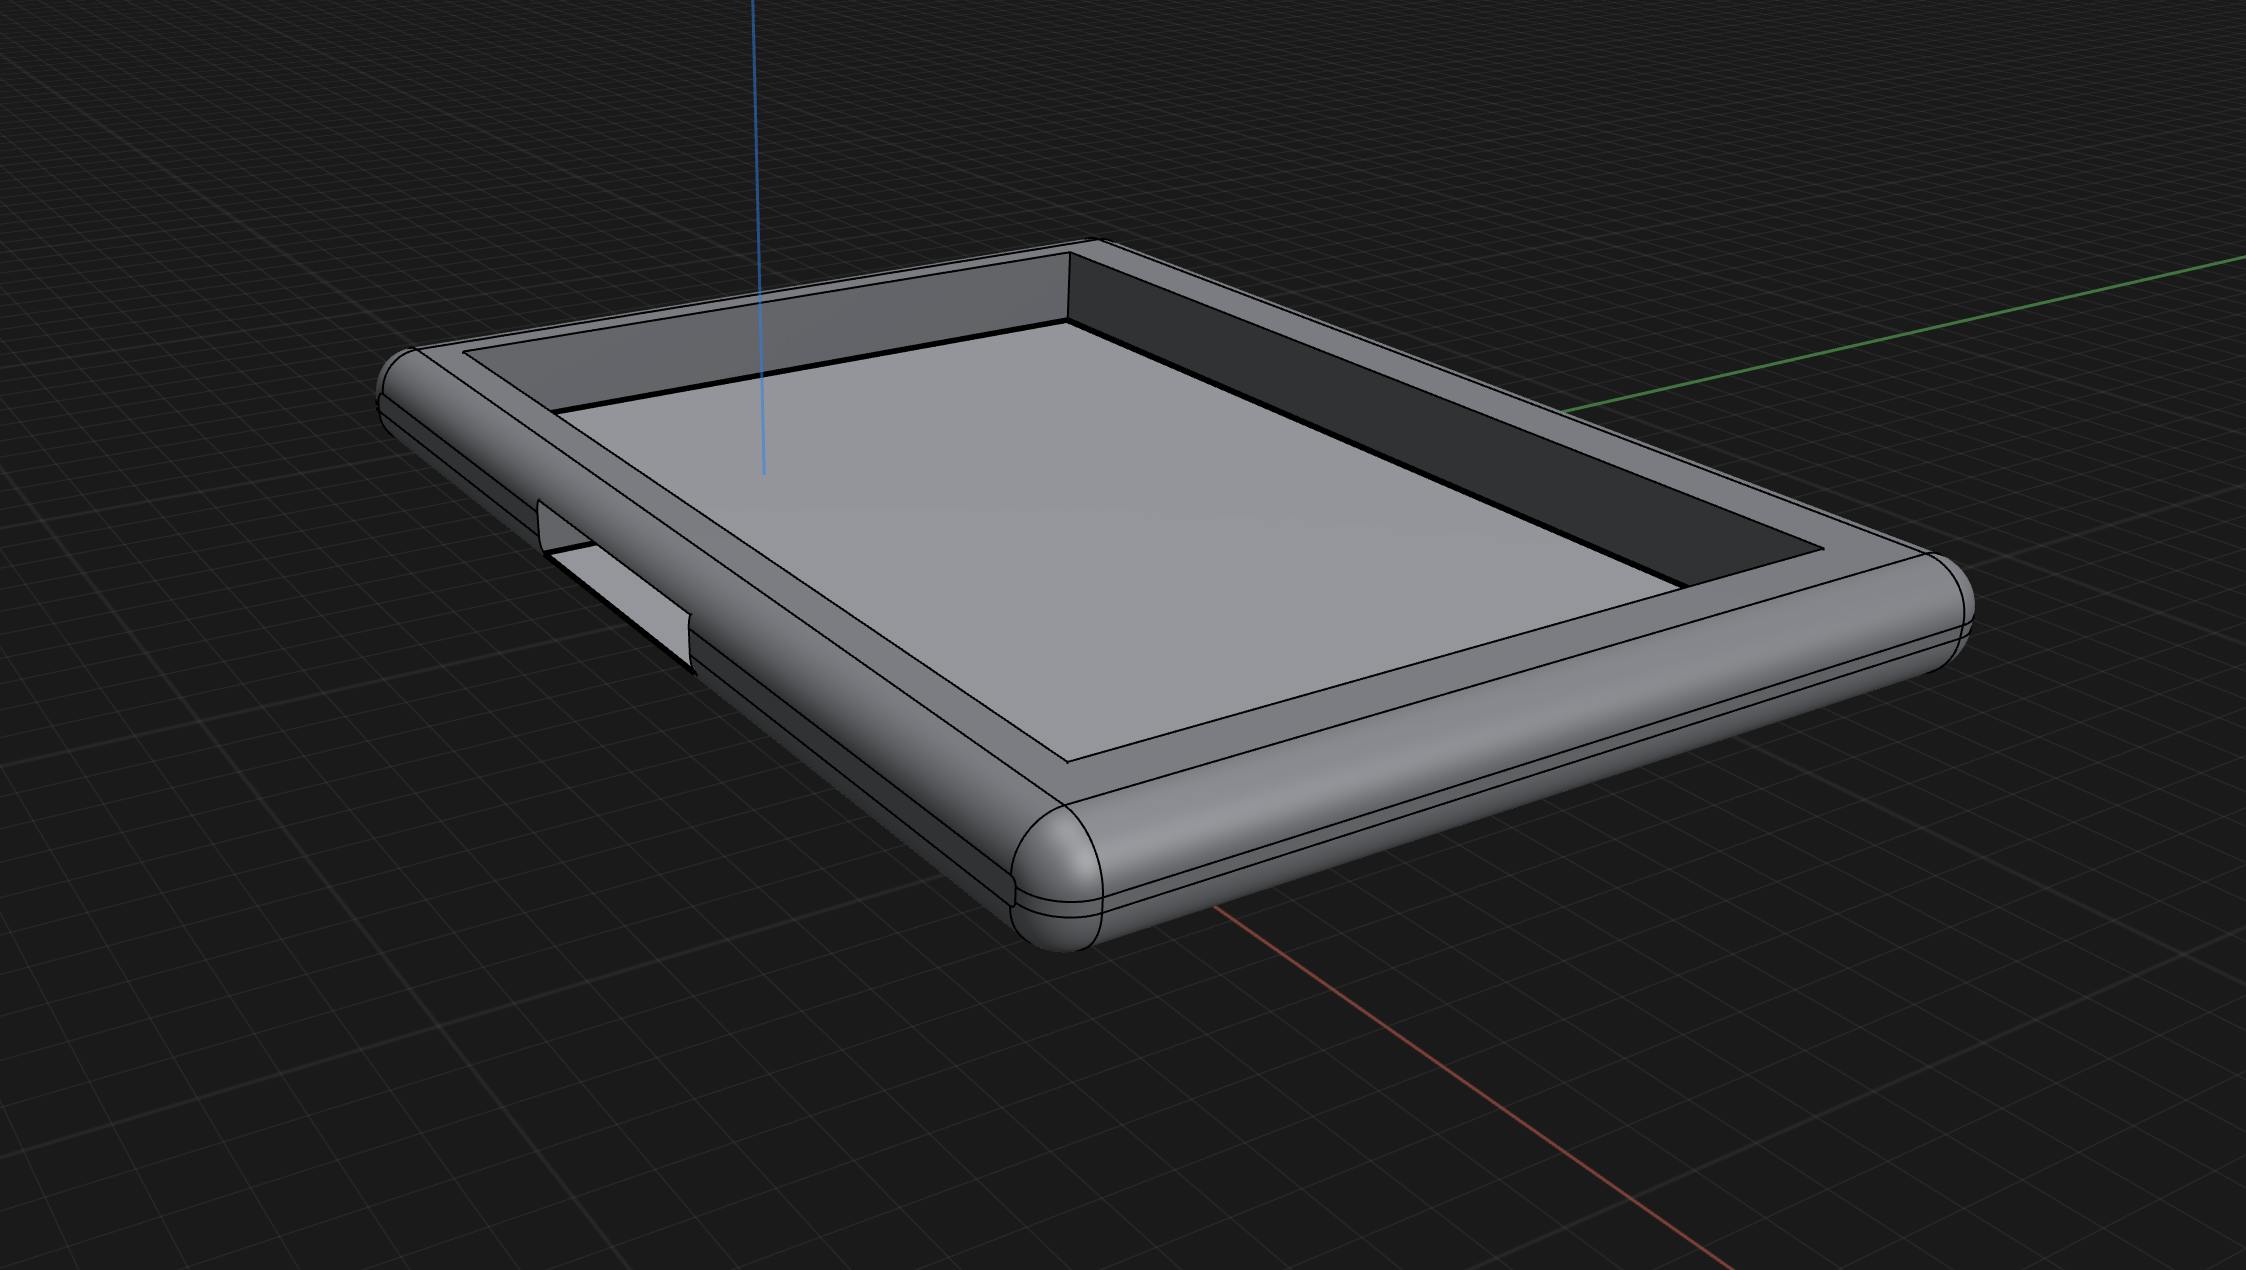
For my fifth design, I looked up a good program and found this wonderful program called Shapr3D, and they hooked me with their educational license. I made a wonderful design on it (if I do say so myself), and well, my 3D printer convinced me that it didn’t like my project being complete. After making half a 6-hour build, its nozzle got clogged, and it messed up a few layers which completely ruined the structural stability of the build.
I had to take out the nozzle to clean (I didn’t, but I didn’t know that at that time) and when I put it back in, my 3D printer refused to detect it, (Saying that the temperature was 300C, which is not possible since it can only go up to 240 degrees) and I had to spend a ton of time fixing that while being scared since this was a $600 printer and of course I was scared.
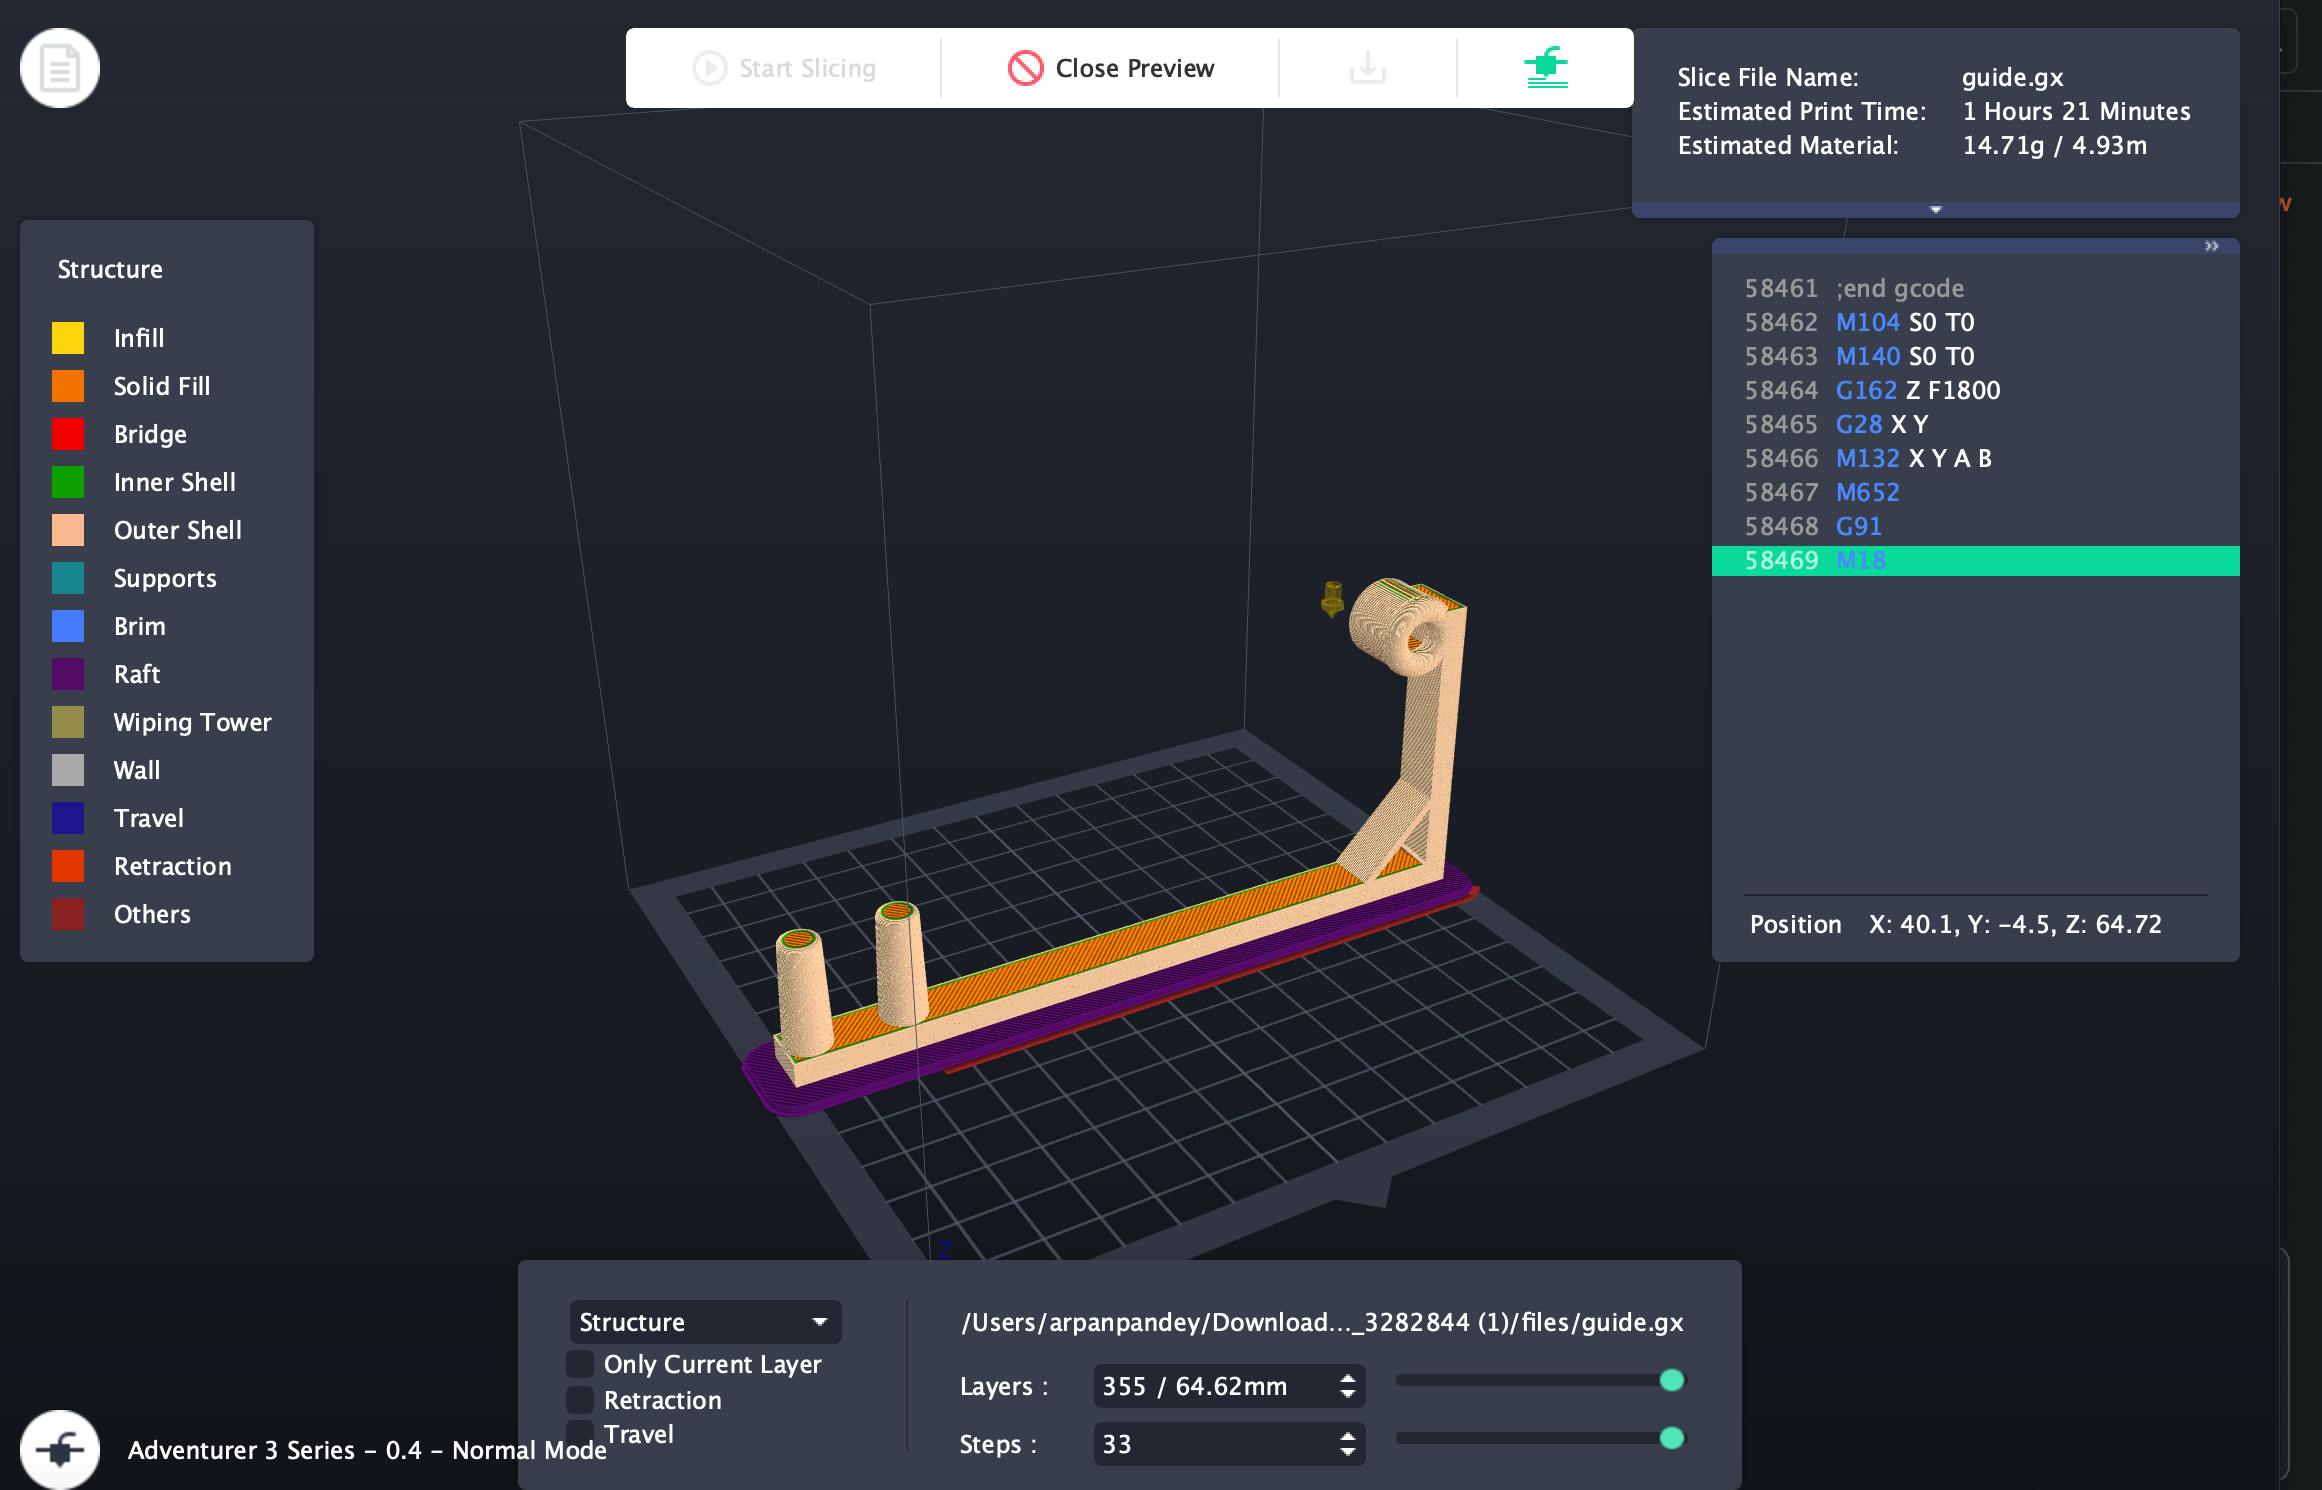
After all this, I finally made a new design in Shapr3D and this time it worked, sorta. It did break a little, but with finals approaching, I really couldn’t push it further. And here is the project in its current state (I will improvise on it later), along with a few time lapses I made during the printing.
Software Side-Quest
Did you think the issues were related to the display or the 3D printer only?

Oh, hell nah, let me tell you about the wild side quest I had while working on my latest project! I was trying to get an ePaper display to print out EPUB files, but it was quite a challenge. First, I had to convert the files into images using Python, which sounds simple enough, but it turned out to be quite tricky.
Extracting information from EPUB files was a real headache, especially with the Ebooklib library I was using. After hours of troubleshooting and trying different methods, I finally managed to hack together a little script. But the HTML output given by the library wasn't clean at all for creating an image by processing it directly. So, I decided to involve BeautifulSoup to extract paragraphs and headings, which was a hacky solution, but it worked for the time being.
To generate the images, I used imgkit with styling being provided by a customized version of Air.css. It was quite a journey to get everything working smoothly, but in the end, I did it. And let me tell you, it was all worth it when I saw the final product, the ePaper display beautifully showing the EPUB files. It was a challenge, but I learned so much along the way, and that's what makes these projects so rewarding.
Raspberry Pi Mini-Adventure
How can a hardware project be completed without facing challenges with the Raspberry Pi when a Raspberry Pi is involved? After days of struggling with the EPaper display adapter and replacing the display three times, I finally got it to work by reading through the documentation provided by Waveshare. However, I still had to tackle the challenge of controlling the reading experience with a keyboard. So, I wrote a program for the Raspberry Pi to load an Ebook and use keys like A and D to move forward and back, as well as keys like R to start at the beginning. Additionally, I created a FastAPI Server that could accept EPUB files from anywhere on the network.
Feeling satisfied with my progress, I went to sleep, but the next day, I encountered a major setback. For some reason, my Pi refused to boot up, and I had no choice but to re-flash the operating system. Unfortunately, this erased all of my code, which I had, in my infinite wisdom, forgotten to push to a GitHub repository or store anywhere as a backup. As I was in the middle of my final exams at the time, I had to put the project on hold. I do plan on continuing it later and will provide updates on my progress here for those who are interested.

Conclusion
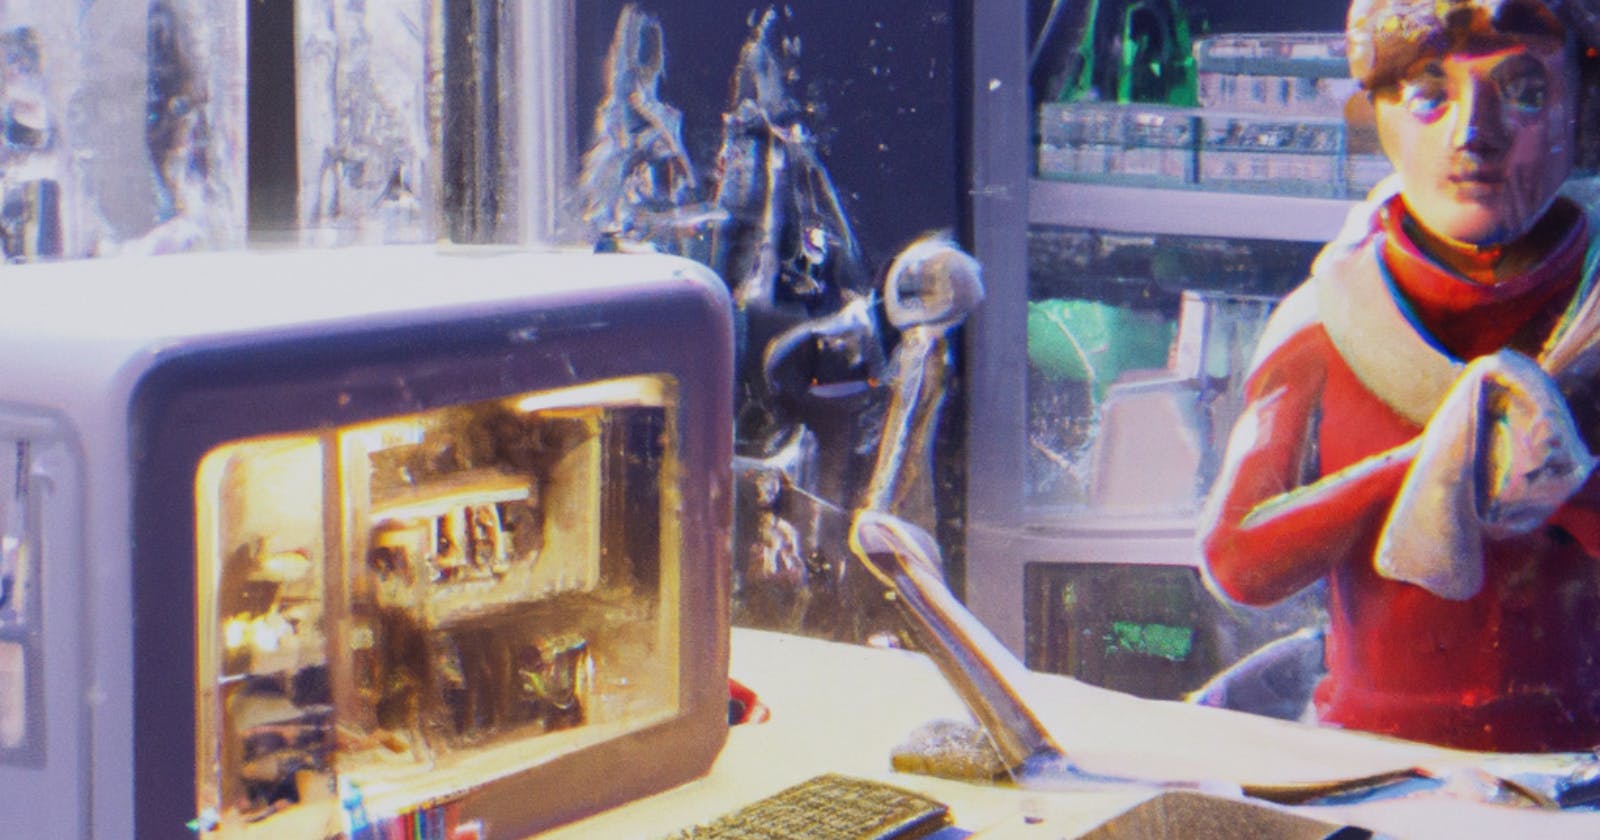
Here's a pic of what is ready so far:
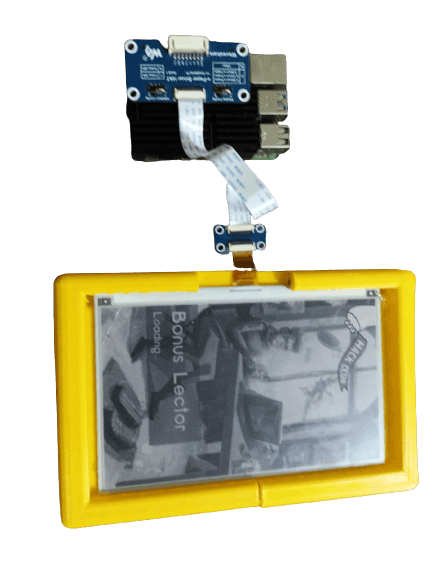
This project was certainly a heck of a debugging ride, but it was also incredibly rewarding. I learned a lot about coding, 3D printing, hardware, and problem-solving in general. Despite encountering numerous challenges along the way, I was able to persevere and ultimately create a functional eReader with an ePaper display and keyboard controls. While there is still work to be done, I am proud of what I have accomplished so far and excited to continue developing this project in the future. Thank you for reading and I hope this has inspired you to take on your own ambitious projects, along with a reasonable idea of what to expect.